Before the holidays I said I would complete the slides on carving a cheetah with a rotary tool. Between then and now my computer has gone south a few times, and the software was updated, which means changed. The end result is I have too relearn how I put the slides together. This short version of using the Dremel rotary tool will have to do until I can get the rest of the slides all in order and figure out what to do with them.
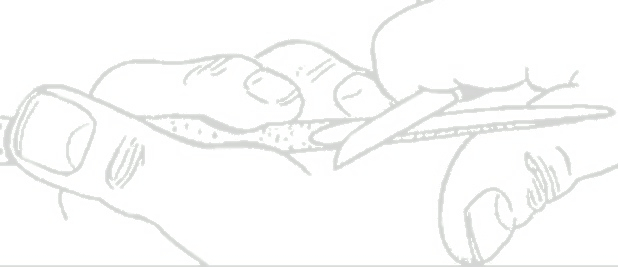
I think you can get the idea of how I carve the pairs of animals for the Noah's Arks in a reasonable time. I use a 1/2 inch sanding drum, and merely sand off the edges of the blank. I start by making a simple "cut" on each side of the neck. Next I carve the sides of the tail, followed by rounding off the cheetahs back. After that I define the back legs, and round off the under belly. Next it's the front legs, followed by the head. I try to use the sanding drum as I would a knife. If you follow the slides you can see what I mean.
The following tips are worth giving:
1. The animals are meant to be played with, so there is little carved detail. Detail breaks off.
2. The Cheetahs legs are not separated. Kids break them off if they are.
3. If you use Basswood it fuzzes up when sanded.
4. If you use redwood it does not fuzz up. I buy redwood fenceing, it's cheap.
5. Wear a good mask.
6. After the animals are carved, dip them into shellac prior to painting.
1 comment:
I'm interested in your approach , on carving animals. I've tried carving small dogs with, poor results, they look like goats.
Post a Comment