
After you have the tracings, you need to transfer the images to the wood. I use 1/4th inch thick Basswood. I use carbon paper to make the actual transfer. Try to find carbon paper. For that matter, try to find a store clerk that even knows what carbon paper is. Forget the office supply stores, they have it but in 100 sheet packages for $22. Go Walgreens, or Drug Mart. If you a blank stare from an employee when you ask for carbon paper, ask for transfer paper. In the following photo, the images have been transferred to the wood.

Cut the fish blanks with a scroll saw, or a coping saw.

WHITTLING STEPS
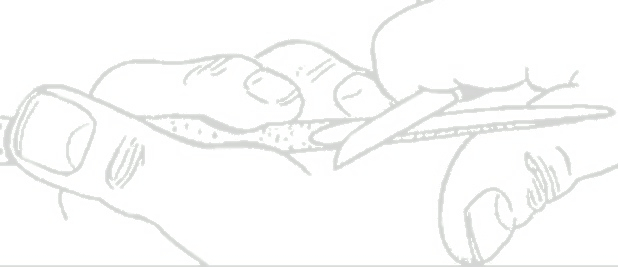
1. Identify the fins that you wish to isolate from the fish body, and make stop cuts where the fish fins meet the fishes body.

2. Pare down the thickness of these fins with your knife.

3. To remove some of the "flatness" from the fish, remove some wood from the back and front sides of the fishes tail.

4. With your knife, round off the hard edges of the fishes body.

5. Use Sand paper to complete the rounding of the fishes body, fins, and tail. Make shallow stop cuts that outline the gill covers, small fin, and large fins. SEE STEP 7 FOR REFERENCE. Poke a pin into where the eye will be.

6. Decide on the finish. I will paint the fish. Obtain a color illustration or photo of a Triple Tail to refer to for colors.
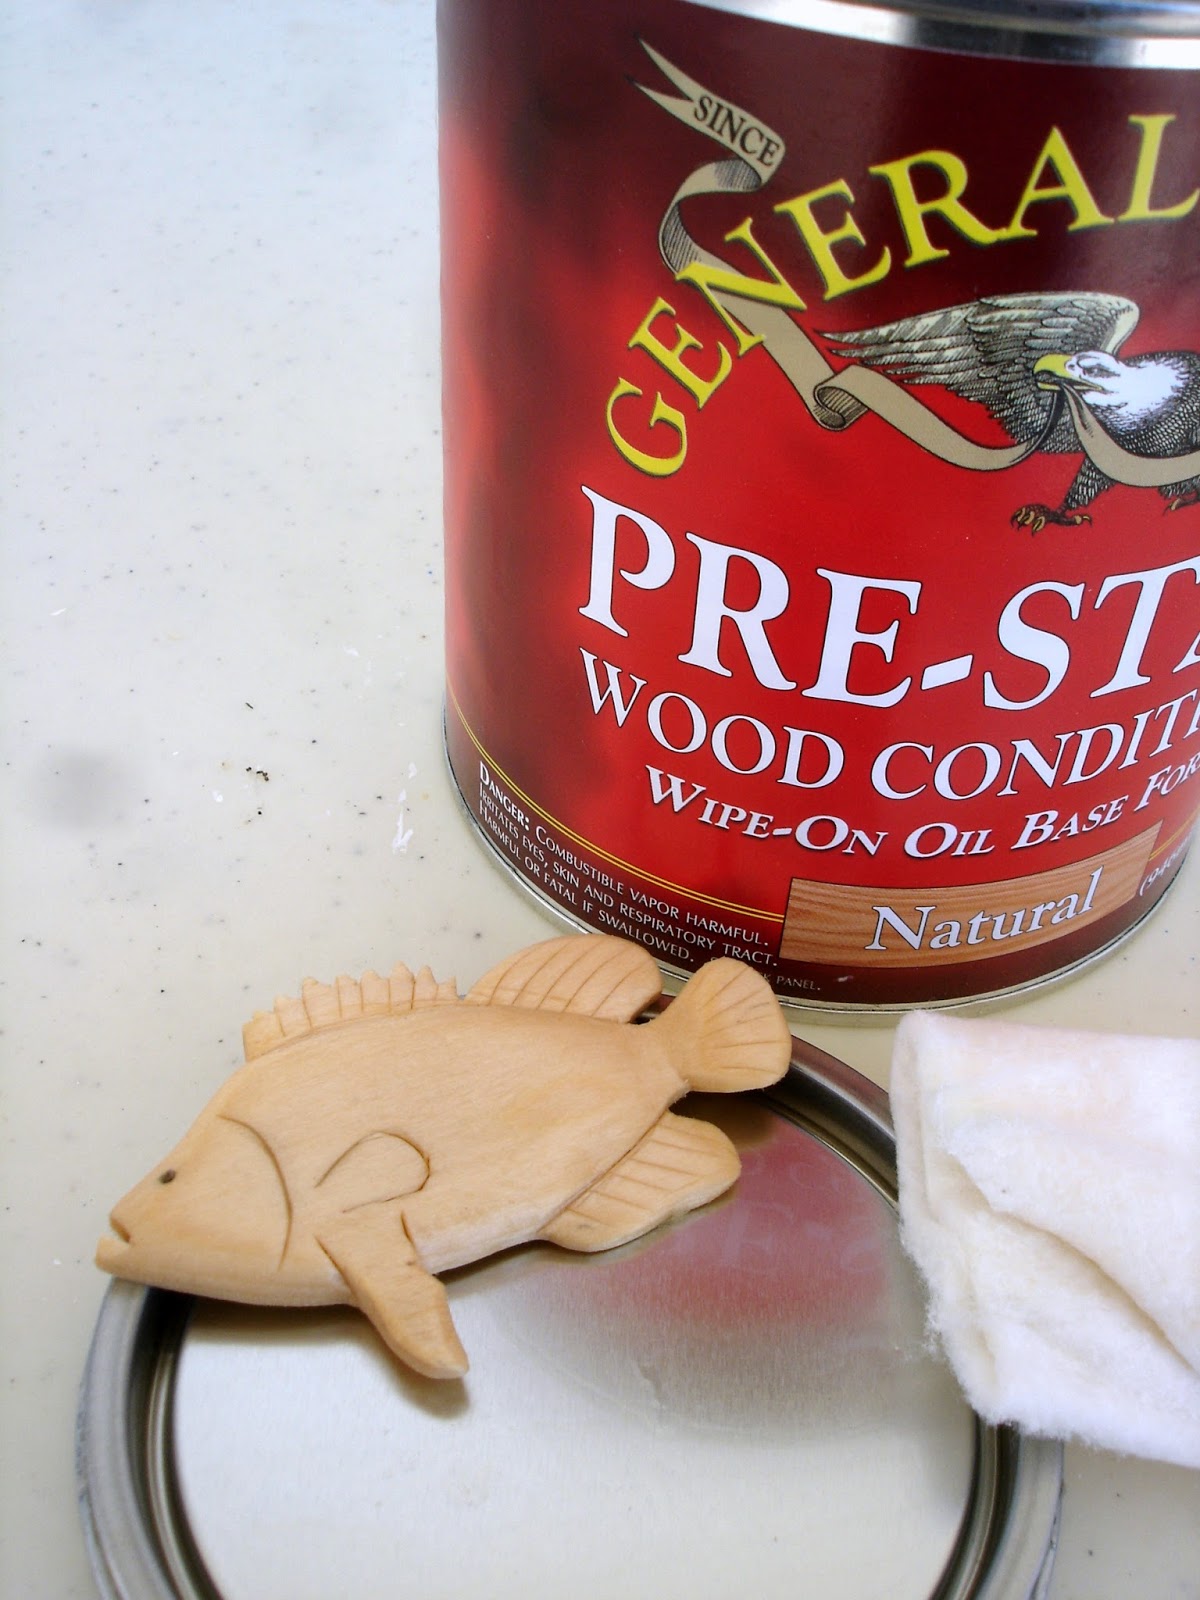
7. I will first dip the fish in wood conditioner. Notice that the wood conditioner has darkened the stop cuts made in step 5.
8. Next is painting. I will paint it with a very thin mixture of brown and dark green acrylic paint. I'll first thin the brown with water at about a 12 to one ratio (12 drops water to 1 drop brown). Next apply this mixture of brown paint, and immediately wipe with a cotton pad. Layer the brown mixture until you achieve the proper shade.

9. Let the brown dry then apply the dark green in the same mixture ration. Wipe the green the same as the brown, apply additional green wash until you are satisfied with the appearance.

10. Let these layers of color dry, then apply the final protective coat of finish. I just waxed the pin. Add a pin back and you're done.

There is a restaurant here that we frequent on a regular basis called TRIPLE TAILS. I am sure the waitresses will be gifted some of these pins.
No comments:
Post a Comment