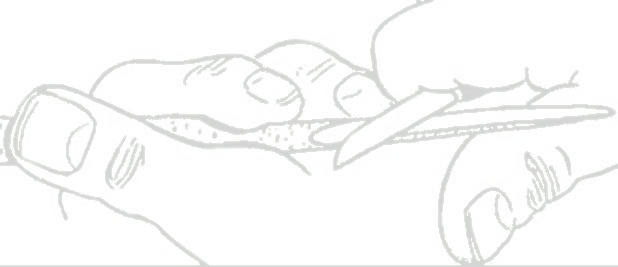
The photos of the steps are included under, or after the written instructions.
One of the first thing to do is to draw a center line all the way around the blank, at its edge. This line serves as a reference point to make sure your whittling is symmetrical and results are "in the round".
The next step is to draw the draw the line that define the arms, hat brim, shoes,etc; on each side of the blank.
We're now ready to start whittling. Make sure that your knife is very very sharp, and you have your strop handy to touch up the blade. I recommend wearing a carving glove and thumb guard, while carving and whittling. However, if you know me, you know I subscribe to the idea of, " do as I say not as I do".
My first knife cuts are stop cuts at the bottom and top of the hat brim. Don't worry about the thickness of the hat brim at this time. It will be thinned out later.
The next knife cuts are at the corners of the head and hat, down and up to the stop cuts. You can use a paring or push cut and begin to round off these corners.
Before you goe any further, you best draw the ears on the blank, while there is still enough wood.
Isolate the ears by making cuts and removing wood behind them. Then continue to round off the corners of the head. Keep checking the nose area and the center line to be sure that you leave enough wood to whittle the nose.
This will be continued after I get some jobs completed around the house this AM.
.


No comments:
Post a Comment
click here to comment on this post!