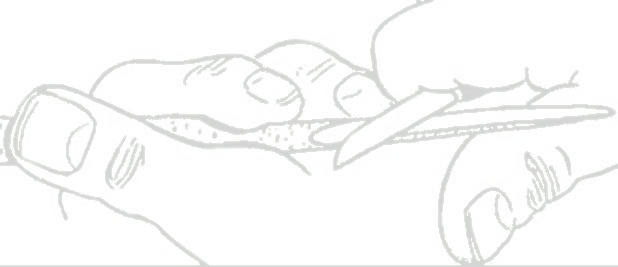
Stop cuts are maybe the most important knife cuts one makes when whittling/carving. These knife cuts can be perpendicular to the wood surface or angled into the wood. They can be deep or shallow. How a stop cut is made can determine how "clean" the final cut will be. And how well a stop cut is made will, in large part, be determined by how well you know your knife. You really need to be aware of, and know where the knife blade is in the wood.
Samples of common stop cuts for the straight cut face: This is just preliminary information. The next posting will be a step-by-step.
This straight stop cut is made across the entire face of the wood. Some folks use the knife like a pen or pencil to make this cut. This is not a good idea. I is very easy to cut yourself as you drag the knife across the wood surface, and go over the edge. There usually is a finger waiting over the edge. I prefer to place the tip of the knife blade as shown, and the rotate/rock the wood into the blade. The knife blade should remain at right angles to the wood, with moderate pressure. To get a deep straight stop cut you may have to repeat this process several times.
Stop cut on the corner
Make this stop cut straight into the wood, being careful not to twist the knife. Keep the blade at right angles to the wood surface.
Knife tip stop cut
For this straight stop cut, plunge the knife tip into the wood where two straight stop cuts meet. Over time you'll know how deep to make this stop cut. For the face, make it a bit deep. Make sure the blade is at right angles to the wood surface. Take care not to twist the blade in the wood.. Try to make this stop cut with one knife tip "plunge".
Knife tip stop cut
When making two knife tip stop cuts to make corner, be sure to start the second stop cut at the point where the two meet. Try to make both of these stop cuts the same depth. Keep the blade at right angles to the wood.


No comments:
Post a Comment
click here to comment on this post!