We'll pick up where we left off, in the previous posting.
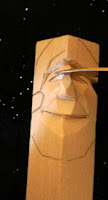
This is our starting point for this posting.
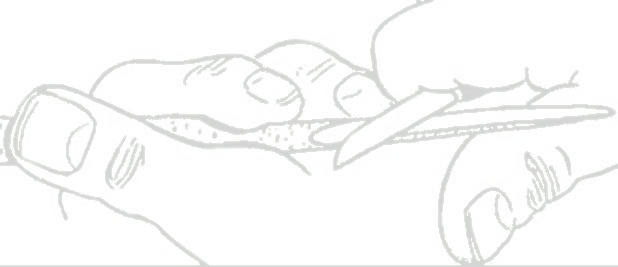
Make a stop cut that defines the top of the mustache and the bottom of the cheek. To achieve this cut plunge the blade tip into the wood at the point where the mustache meets the "wing" of the nose and then "rock" the blade down to the mustache end.
Make this same stop cut on the other side of the nose/top of the mustache.
Slice down to the stop cut that defines the top of the mustache, and remove the sliver of wood.
You may have to turn the wood "upside down" to make the same cut on the other side.
Make stop cuts that define the bottom of the mustache.
Remove some wood up to these stop cuts at the bottom of the mustache. This will
make the mustache stand out from the face.
The Santa face should like something like this by now.
Make a shallow stop cut at the bridge of the nose. At the bottom of the nose, cut the points of the nose "wings" off, to give a rounded look to the nose tip.
Remove a chip of wood from the bottom of the nose up to the stop cut at the bridge of the nose. Next remove a chip from the corner of the wood in the center of the forehead.
Progress check!
Remove the sharp angled edges from each side of the mustache to smooth it.
Here's a side/profile.
Cut the corners of the hat off as shown in the photo. Remove a chip that separates the round ball on the fold over part of the hat.
Make this stop cut by plunging the blade tip into the wood just past the "ball", at the end of the hat fold over; and "rocking" the knife down to where the fold over turns to the front of the hat.
Continue the previous stop cut by starting a new stop cut where the previous stop cut ended. Plunge the blade tip into the wood and "Rock" the blade to the front of the hat, on the line.
Remove some wood up to these stops cuts as shown in this photo, to create the fold over.
Round over the top of the hat.
Make stop cuts defining the bottom of the beard and remove some wood up and down to these stop cuts.
Make a series of connected stab cuts to outline the ball on the end of the hat fold over. Remove some wood up to these stop cuts to make the ball stand out.
Use the connected stab cuts with the tip of the knife blade, to prevent putting a twist on the blade tip, and causing the tip to break off.
All we need for this simple straight cut Santa is some eyes. That's for the next posting.


No comments:
Post a Comment
click here to comment on this post!