 |
2. Make stop cut at nose bottom, and relieve the wood up to the stop cuts, there by shaping the face.
3. Make stop cuts on each side of nose and at the top of the eye area. Be careful not to undercut the sides of the nose. Plunge the point of the knife into the wood at the top of the nose line and rock the blade down to the bottom of the nose. Do the same to make the stop cut at the top of the eye area (plunge the knife tip into the wood where the lines of nose side meet the lines of the top of the eye area)
With the knife tip, remove the chip that is outlined by the stop cuts at nose side and the top of the eye area.
Shape the nose. Remove a small chip from the nose wings, to kind of round the nose. Thin the nose out some, and make a curl cut from the nose tip to its top.
Make stop cuts that define the top of Santa's mustache/bottom of the cheeks. Use a series of shallow knife tip plunges to make the tight curved stop cut. This knife technique will prevent breaking the knife tip in the smaller tighter curved stop cuts.
Make the cheeks round, by paring down to the stop cuts at the top of the mustache. Use short small cuts to remove small slices of wood.
Make the stop cut that defines the bottom of the mustache. Use the same knife technique as on the top of the mustache.
Slice up to the bottom of the mustache stop cuts and relieve the wood up to the mustache bottom.
Prepare the hat, by first shaping the tassel, then removing a slice of wood down to the tassel.
Make a stop cut that define the top of the fur band at the hat bottom.
Relieve some wood from the top of the hat, down to the top of the fur band. Round the tassel. Make a cut on the fur band to make it go behind the tassel. Remove a sliver of wood to denote the hats fold over.
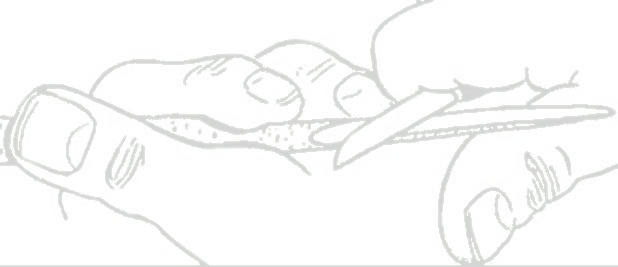
Start tapering the beard and below into the slender tooth pick.
There you have it. An emergency tooth pick that's got character.
I may need a new camera!@&*%??$@#


No comments:
Post a Comment
click here to comment on this post!