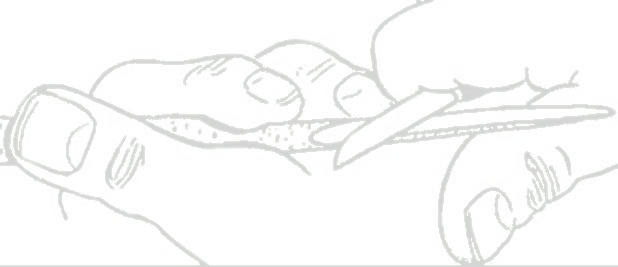
31. Make stop cuts defining the bottom of the mustache, and pare up to these stops cuts. This should make the mustache stand out from the face.
32. Make stop cuts defining the backs of the arms, and remove a sliver of wood, from the back, to the stop cuts. This should make the backs of the arms stand out from the back.
33. Make a stop cut at the bottom of the hair line at the back of the Gnomes head. Remove "chips" where the tops of the arms and hair meet.
34. Make stop cuts at the top of the boots, and pare down to these stop cuts so that the Gnomes leg "goes into" the boot top. When making these stop cuts, try to hold your knife steady at the cut area and move the wood into the knife blade.
35. Taper the hat. Be careful to pay attention to the direction of the grain.
36. Separate the Gnomes feet (front and back).
37. Remove a "chip" from inside the ears.
38.. Round off the arms a wee bit. Since this piece is kind of a "Flat Plane" carving you don't need to do much rounding; just slice the edges off.
39. Prepare the eye. For these small eyes, I use a "sharpened" small screw driver, and merely press a slit that can be painted in.
40. Here's the front view
41. Side view.
42. Back view.
There's lots of things that can still be done to this little Gnome. Some times I texture the beard and hair, but most of the time this will do. Some times I stain, but most of the time I paint. Before I paint, I use a denture brush and scrub the piece. After letting the piece dry, I use a wood burner between the colors before I paint.


No comments:
Post a Comment
click here to comment on this post!