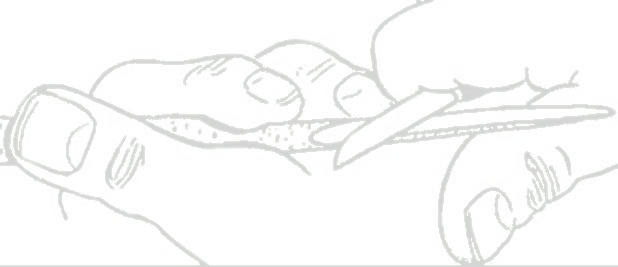
Whittling steps
1. Determine where each fin attaches on the fish. You'll only be concerned with the top, bottom and one side. For the fins that attach at the fishes top and bottom side, draw a stop cut line at the fins bottom.
2. For the fins that attach at the fishes side, draw a stop cut line at each edge of the fin.
These are the fins in the back of the gill cover.
3. Make a stop cut at the stop cut lines for the fins.
4. Make careful slicing cuts to the stop cuts at the fins on the top and bottom of the fish, and remove the wood to thin these fins out. Remove the chips formed by the stop cuts at the edges.sides of the fins attached to the fishes side.
7. Round over the fishes back and belly between the back and belly fins. I used my pocket knife, and will clean the cuts up with sand paper.
8. Use sandpaper to smooth out the knife cut. Use two types, course and fine.
9. Make a stop cut at the gill cover, and use a nail to impress for the eye.
10. Add a pin back and apply finish.
Here's several other examples that can be done following the same steps.


No comments:
Post a Comment
click here to comment on this post!