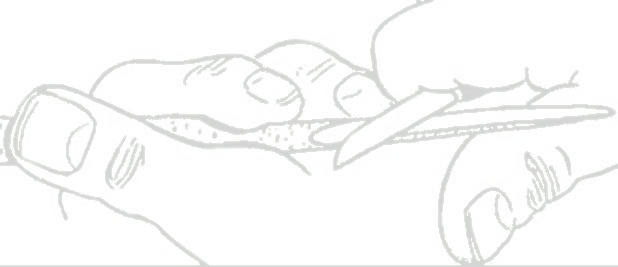
The photo captions precede the photo.
Step 1 - Stop cut where head meets body.
Step 2 - Stop cut where tail meets body
Step 3 - Stop cut where horn meets head.
Step 4 - Remove wood from horn to thin it down. Carefully slice down to the stop cut.
Step 5 - Begin to thin the head by slicing wood off up to the stop cut that separates the head from the body.
Step 6 - Continue thinning the head by tapering it from the back to the tip
It may be necessary to deepen the stop cut separating the head from the body to narrow the Rhino's head.
Step 7 - The narrowed head should look like this.
Step 8 - Make stop cuts separating rear legs from body,
Step 9 - Make stop cuts separating front legs from body.
Step 10 - Remove ship from belly to rear leg.
Step 11 - Remove chip at rear legs and belly.
Step 12 - Make stop cuts on each side of back
Step 13 - Remove chips to the stop cut at mid way back, both from the shoulder and the rear.
Step 14 - Remove a slice to form a flat facet at rump area.
Step 15 - Remove a slice of wood from mid back to the neck area.
Step 16 - Your Rhino should look somewhat like this.
WE'LL COMPLETE THE RHINO IN THE NEXT POSTS.


Quality post step by step guideline. Bookmarked your blog.
ReplyDelete