I am always on the lookout for quick and easy items to whittle. These items need to be carried in my pockets and ready to whittle no matter when or where I might be.
Halloween is in October, and I always like to have some small items to give or to sell. For some reason, skulls seem to be liked.
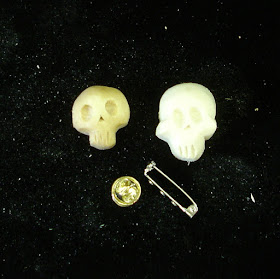
Here's a small SKULL PIN, or MAGNET
that's easy and fast to do.
The following photos are a step-by-step sequence to start and to complete the small skull pin or magnet.
Step 1- Make some sketches.
STEP 2- Transfer a sketch to wood and cut out the pattern. Here I have selected two sketches for patterns and whittling.
Step 3_ Trace the patterns onto 3/8 inch Basswood, and cut the blanks out. Trace and cut out lots of blanks.
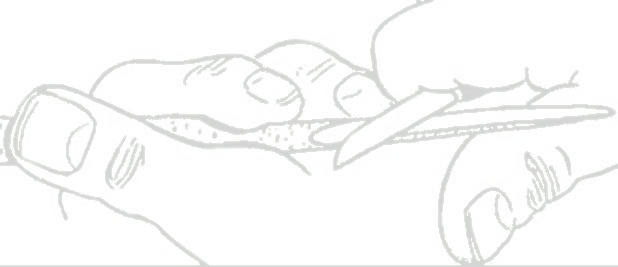
STEP 4- Use you knife to round over the edges.
STEP 5- I used the drill to shape the eye sockets, and the knife to shape the teeth. The skulls in the following photo were darkened so you could see that I left the knife marks prior to adding the finish. To lazy to sand! I dipped the skulls in maple stain, then clear polyurethane.
Here's an example of sanded skulls. I like the unsanded.
Step 6- Add a tie tack or a pin back to the skull. You could also add a magnet.
I whittled 8 of these with my morning coffee. Of course I had to promise some for the waitresses at the diner...


I always enjoy your posts and carvings. You said you whittled these at breakfast, sounds like at a diner. What do you do with your shavings? Do you carry a banana to catch them in on the table?
ReplyDeleteBrian, First rule for whittling at the diner is to be sure the waitresses get some carvings, especially at Christmas time. I keep all the chips in a small pile then sweep them into a napkin. Thanks for you comment....Tom H
ReplyDelete