Something that I must point out.I am attempting to modify the manner in which I carve a small face, with a pocket knife, in order to have a better chance to carve a decent eye. I have carved faces the same way for so long that I am thinking it might be easier to just make some minor adjustments rather than starting over. Thus, I am sharing my efforts, in the hope that it might help others in their eye carving.
Carving a small realistic eye with only a pocket knife presents several challenges. As a critical first step one must rough out the eye area of the face in such a manner that there is enough wood left, and is shaped to carve the eyes. After the nose has been located, a first step might involve stop cuts, and removing the chip that is defined by the stop cuts. There is a reason for making these first stop cuts perpendicular to the wood surface. You will want the roughed out eye area to have an arch at the top. If you make the first cut a stop cut arch, you introduce stresses into the wood, that may cause it to crumble at a later step. A tight arch might also cause your knife tip to be broken. After the chip has been removed, make the arch cut. This can be accomplished by laying your knife nearly on the wood above the eye area, inserting the knife point into the wood at the inside corner of the eye area and pivoting the knife to the right. To keep from breaking the knife tip, use a slight sawing/slicing motion as you pivot the knife to the right.
Round the eye ball by removing small slivers of wood up to the top stop cut and down to the bottom stop cut. Be careful not to undercut these stop cuts. Remove a small chip from each corner of the eye ball. This will add more roundness to the eye ball. Draw an eye lid line as shown. This eye lid line should be slightly up into the angled surface of the arch.
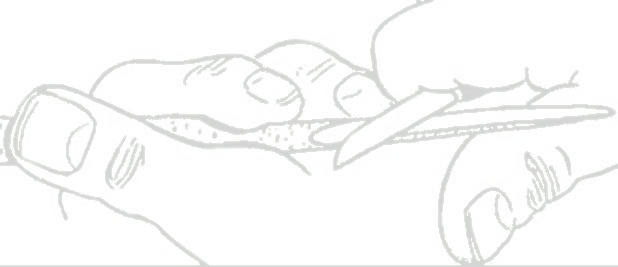
With a very very sharp knife make a stop cut on the eye lid line. Use a series of connected stab cuts that are perpendicular to the wood surface. With your sharp knife, make a series of cuts from the eye lid bottom up to the stop cut line.
This is where I am now. I'll add a few wrinkles and refine the steps to produce a cleaner carved eye.
This is where I am now. I'll add a few wrinkles and refine the steps to produce a cleaner carved eye.


1 comment:
Thanks Tom,for this great explanation.
I had to look up the word "perpendicular",didn`t know that one!
But it`s great to see the steps on how to do it.
Tanks for the tutorial on how to carve an eye.
Dries
Post a Comment