This little whittling project can be adapted to be a larger Christmas tree ornament or a pair of earrings. The whittling process and steps are the same no matter the size.
Start with a piece of wood that is square and about 4 inches in length.
Use thumb assisted push cuts or slicing paring cuts to put a symmetrical point on the piece of wood. The length of the "point" will be how tall your tree will be. Cut the very tip of the point off to provide a small flat "point" so that an eye piece can be inserted.
With a pencil, draw a spiral from the point to the to where the taper of the tree begins. To make the spiral, angle the pencil lead to the wood, and turn the wood while holding the pencil steady. This may take some practice. It's easier to do than explain.
Make stop cut along the marked spiral. Make this stop cut the same way you made the pencil lines defining the spiral. Starting at the tree top, place the knife blade on the spiral, and perpendicular to the wood. Hold the knife firmly while turning the wood into the blade. When you "run out of blade" reposition the blade and keep going. Do this all the way down the tree.
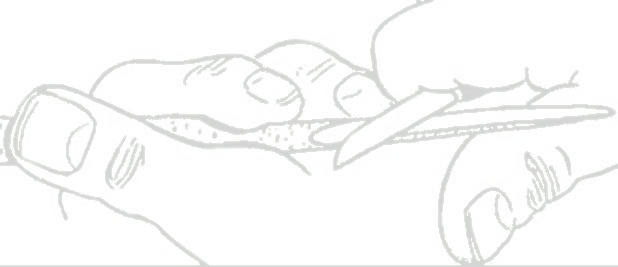
Starting at the top of the tree remove slices/chips from one stop cut up to the next higher stop cut. This photo shows a thumb assisted push cut. Continue these cut to the bottom of the tree.
Here's the same step, but using a paring cut. I personally find it easier to incorporate a slicing motion when using the paring cut.
Your tree should look something like this.
Separate the tree from the piece of wood, but leave some tree trunk.
Here's the completed ornament. I pushed an eye piece with a bead on it into the small flat tip of the tree top. Paint the tree top green and the trunk brown. Use 3D paint for the ornaments. Merely dab a small blob of the 3D paint from the container for each ornament and let dry. When the 3D paint dries it will remain raised.
As mentioned earlier, these can be made small enough for earrings.


6 comments:
Again, you are the best. This is perfect Tom!
I did this one. They are fun. I like the block projects like these Tom. They are great.
Thank you for taking time to help us beginners...
Awesome little Christmas Tree! Thanks for the tutorial. Like Jim Mitchell, "Thank you for taking time to help us beginners..."!
Cone shape completed. Time for definition
Thanks to help beginners . I made two trees
Post a Comment