Don't Scrap Scraps
All carving wood costs money. Don't waste it. I have two scrap boxes beside my saws. I consider only scraps to be wood that cannot be carved.
Here's some pieces that some would consider scraps and then dispose of. not me....Think small whittling. Small means many things to many people. I like to keep some whittling blanks in my pocket with my pocket knife. I'll whittle just about anywhere.
Here's an example of sketches of small possibilities. These pieces will be magnets and/or pins - all are small.
Use carbon paper and transfer the sketches onto one of the scraps.Cut the piece out on the scroll saw and label it Pattern or just "P".
I choose a skull...and traced the skull onto a 3/8th inch thick piece of "scrap".
Used the scroll saw to cut out the skull blank.
I will use only my pocket knife, but will wear a thumb guard on the thumb of the knife holding hand.
Start the whittling by employing paring cuts to shape the lower part of the skull. Notice how I am holding the piece that I am cutting. I have it firmly clamped between the thumb and forefinger of my non knife holding left hand. Experienced whittlers have this thumb and forefinger strength.
Here;s the lower part of the skull shaped.
Next, use the paring cuts to shape the top of the skull.
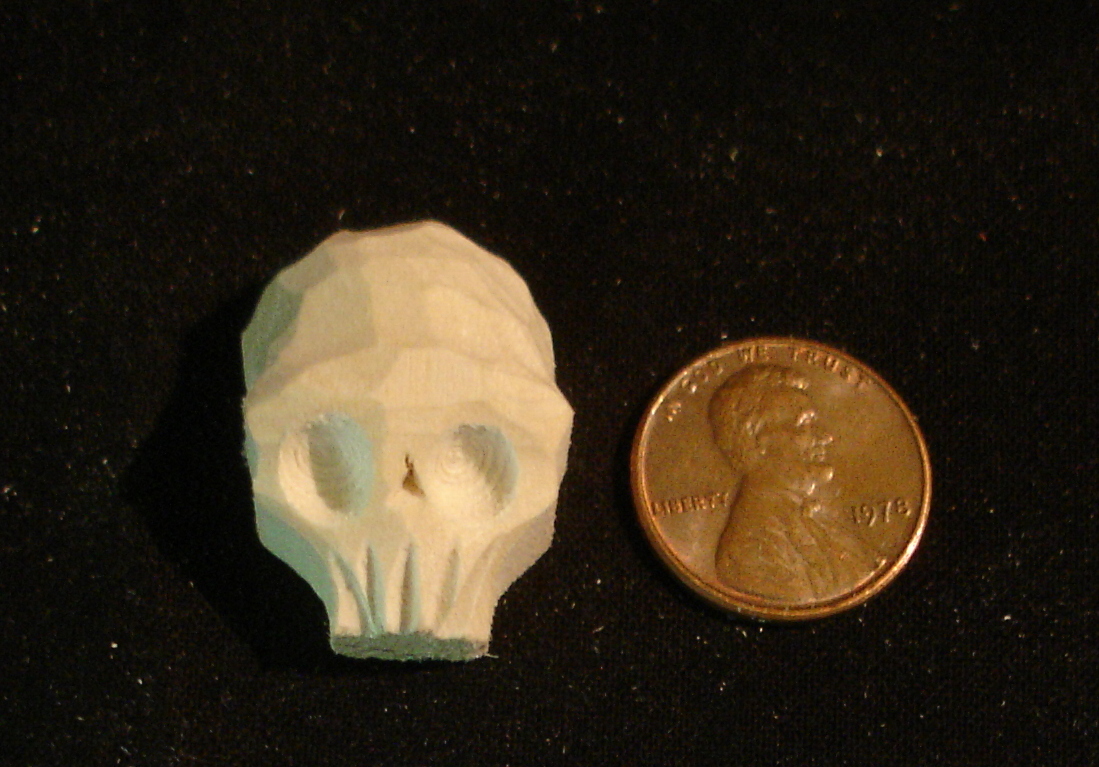
Notice that there are four (4) areas on the skull that have received special attention. 1) the eye areas have been left with flat spots with the eye sockets are. 2) the top of the skull has been shaped to leave a small ridge at the top of the eye areas. 3) the nostril/nose area has a 3-cornered chip removed. 4)the mouth area has some cuts to illustrate teeth.
Here's the skull with the eye sockets shaped. There are several ways to shape these eye sockets. You could use a knife, a gouge, or as I have done. I elected to use power since I need about 50 of them.
Use a cutter in a rotary tool to shape the eye sockets if you want!
Paint the skull white, and the eye sockets black.
Add a pin back or a magnet to the back.
My 50 will be put to good use for the Halloween season.


2 comments:
It is a great post, I just completed the dressing that my wife always wanted to be honest it took 8 days instead of 3 but keep in mind that I am not a great carpenter.
For more information click here : https://woodworking8785.weebly.com/
Nice content! That skull you made can be better with practice. I know this since I have a friend who also does the same thing, but not skulls, just cubes. He wants to create perfect cubes without using anything but a carving knife.
By the way, check out our website, it's for woodcarvers as well, like you. We want to have this marketplace become the largest wood-focused one on the internet.
Visit us at www.thewoodtemple.com. Thanks!
Post a Comment