March 17, 2017 is St. Patricks Day. Irish and wanta be Irish all celebrate. Some of these celebrations occur in pubs. Everybody wants to be wearin the Green, green hats, sweaters, scarves, and any number of pins. This little project was picked to include in a class of beginners that I may be teaching while in Florida during February/March.
I selected this project because the class will focus on whittling, and the project incorporates STOP CUTS, PARING CUTS, and THUMB ASSISTED PUSH CUTS.
STEP 1: Saw the blank from 1/4" or 3/8" think Basswood. I like to add handle for beginners to hold onto when whittling. Draw lines at the top and bottom of the hat brim.
STEP 2: Make STOP CUTS at the top of the hat brim on the two corners.
STEP 3: After the two corners have stop cuts, connect the corner stop cuts with a continuous stop cut, that isolates the top of the hat from the brim. I do not like to use my knife as a pencil to make these stop cuts. I like to hold the knife steady and "rock" the wood into the blade. This prevents the knife blade from going over the edge of the wood and possibly cutting me.
STEP 4: This step starts the rounding of the top part of the hat. I like to use a paring cut from the top of the hat down to the stop cut that separates the brim from the top of the hat. Do not get too aggressive with these paring cuts, Remove thin slices. Be careful of the hat brim, as it is very fragile.
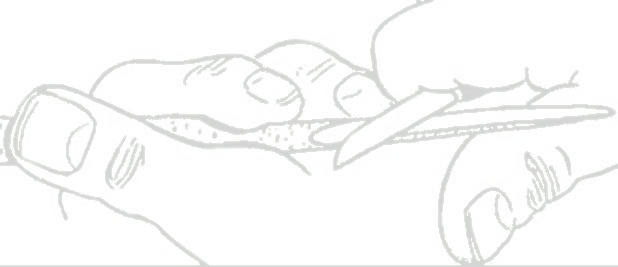
STEP 5: Continue using paring cuts to round the top part of the hat. I like to place my thumb as a stop to prevent my knife holding hand from getting too aggressive and have the knife cut through the brim.
STEP 6: Once the top of the hat is rounded, you car draw the hat band and buckle.
STEP 7: Make shallow stop cuts to isolate the hand band and the top of the buckle. I like to hold the knife firm and move the wood into the blade in a rocking motion). Avoid running the knife blade over the edge of the wood.
STEP 8: Next make stop cuts to isolate the buckle. Start with the sides of the buckle.
STEP 9: Make a stop cut to isolate the top of the buckle.
STEP 10. Lightly par down from the top of the hat to the top of the hat band and buckle, to have it stand out from the hat.
STEP 12: Further pare down the hat band on each side of the buckle to have the buckle stand out from the hat band.
STEP 13: Begin to thin the hat band, while you still have a handle to hold on to. You may wish to apply some liquid super glue to the top and bottom of the hat band to strength it.
STEP 14: Use a scroll saw to cut off the "handle".
STEP 15: If you haven't already done so, I recommend applying liquid super glue to the hat band, at this step or before. The hat band is very fragile and may break off.
STEP 16: After the super glue is set finish thinning the hat brim.
STEP 17: I never sand so I'm ready to paint. Just have to glue the pin back on,


No comments:
Post a Comment