A. Have a good chance of each participant completing it,
B. Be on the smaller side,
C. Be able to be carved with only a knife,
D. Involve the basic knife cuts (stop, push, and paring cut),
E. Be fun to carve, and put to use.
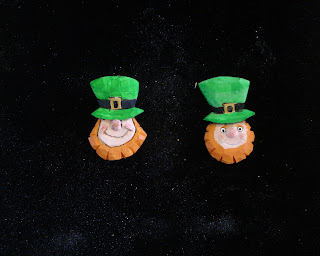
THE FINISHED PRODUCT
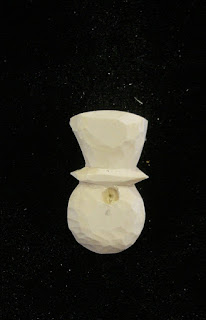
STEP 1: Cut out the blank from 1/4th to 3/8 inch Basswood. I like to pencil in the hat band with the buckle to show the carver how the het will look (even though these reference lines will be whittled away.
STEP 2: Since this project will be done by a new whittler, I like simplify it as much as possible. This means that the nose will be added later. We will use a round bead or ball set into a small drilled hole. Locate the hole centered and up against the bottom of the hat brim. Select a drill bit the size of the round wood bead or ball, and drill a the hole about an 1/8th inch deep.
 |
| Add caption |
STEP 3: Using the knife, round over the top of the hat sides and the edges of the face. Taper the hat brim from the edges up to the top and down to the bottom.
STEP 4: Glue the round bead or wood ball into the drilled hole. Make sure the ball or bead stays above the surface of the face.
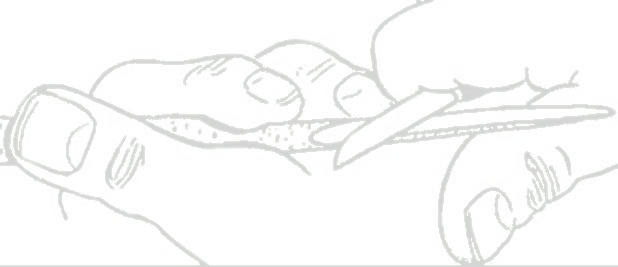
STEP 5: Draw the hat band and buckle, and make stop cuts on these lines.Make shallow stop cuts to isolate the hand band and the top of the buckle. I like to hold the knife firm and move the wood into the blade in a rocking motion). Avoid running the knife blade over the edge of the wood.
STEP 6: Next, a simple beard treatment is all that is needed. Make notches around the outside of the chin and sides of the Leprechauns face. This will become the beard.
STEP 7: Make stop cut the smile and paint! No-see-em on the left and see-um on the right. Just place the nose a bit lower for eyes/
:
:


No comments:
Post a Comment