

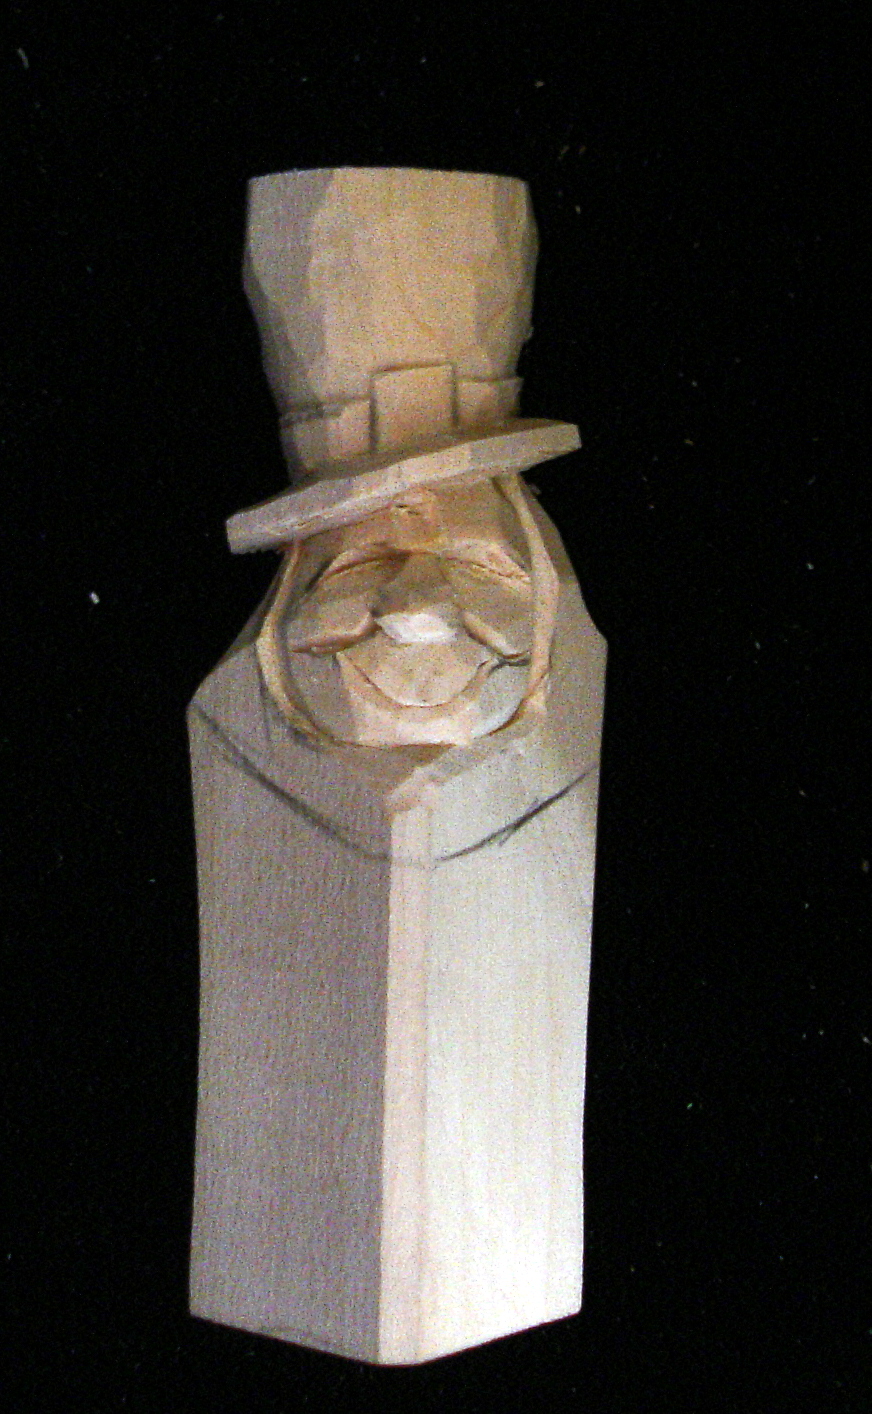
STEP 1 Cut a 3 to 4 inch triangular blank, so that you have a 45 degree corner to carve on.

STEP 2 Carve the top hat the same as described and shown in previous posting.

STEP 3 Draw the nose and the top of the eye area.

STEP 4 Make stop cut(s) on sides of the nose, with the point of your knife. Be sure not to undercut the nose sides. This means that you should tilt the knife towards the nose center for these stop cuts.

STEP 5 Make stop cuts defining the top of the eye areas.

STEP 6 The tops of the eye areas are curved or angled down a bit. Some times it's easier to achieve this curved stop cut by making two cuts wit the knife tip, rather than twisting the knife in one motion and run the risk of breaking the blade tip.

STEP 7 with the knife tip, remove the chip formed by the stop cuts at the nose side and the top of the eye areas.

STEP 8 One chip removed.

STEP 9 Chips removed from both eye areas,

STEP 10 Draw the top and bottom of the beard with a pencil.

STEP 11 Make a stop cut at the top beard line and taper the face down to this stop cut. Draw the hat band and buckle in the top hat. Make stop cuts at this line.
Thin the hat brim.

STEP 12 Taper the hat top down to the band and buckle stop cuts, to have the band and buckle stand out a bit. Remove some wood from the sides of the buckle to make it stand out too.
Draw the mouth in with a pencil.

STEP 13 .Make stop cuts defining the mouth and cheeks. Remove a little wood under the mouth stop cut as well as the cheeks. Remove a small chip of wood above the nose to separate the eye brows
use the knife to shape the tip if the nose.
STEP 14 Cut the top of the hat off. Remove the bottom of the piece of wood.

STEP 15 Shape the beard and the top of the hat with the knife.

STEP 16 At this point I like to scrub the piece with dish liquid soap and a denture brush to remove pencil marks, dirt and any fuzzies that lurk in the crevices and knife cuts.

STEP 17 This piece will be painted, so I must decide whether to seal the wood to prevent paint colors bleeding into each other; or wood burning a line between the different colors. I prefer to wood burn.

STEP 18 Paint with acrylics. I choose to not texture the beard on this one. But I did add a wee bit of red blush to the nose and cheeks.

STEP 19 Here's a painted one with the beard textured.

Just glue the pin back on, and be ready for St Paddy's day.
3 comments:
Tom on step 17 what kind of wood burner do you use and can a cheap wood burner work also?
Ron
Ron,
Thanks for the comment/question. I have the basic RAZOR TIP burner ($135.00) I would think that any wood burner with a thin tip that would reach into the bottom of the stop cuts would work. Finding one would be the problem. Most ofthecheaper burners tip is a chunky wedge. Good luck.
Tom,
I look forward to this one. Trying to make a bandsaw jig to make triangular. Using your book as a resource to cut on my table saw. First attempt was a failure. Will keep trying. I am beginning to use more and more triangular pieces and more on the corner carving.
Rob
Post a Comment