

Gnomes fascinate me, as they do so many other folks. Whittled Gnomes make great little gifts for youngsters and older folks alike. They're not too difficult to whittle, they get done kind of fast, and the small ones do not tire out the hands when whittling.
The following step-by-step instructions will be split between several consecutive postings.
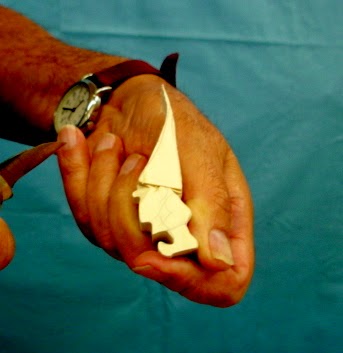
The photos of the steps follow the numbered explanations.
Start with a 3/4" to 1" thick piece of clear Basswood.
1. Trace the pattern onto the wood with the wood grain going from top to bottom ( top of hat to the feet of the Gnome).
2. Cut the Gnome blank out, and draw the details on the blank. Draw a center line around the edge of the blank.

3. Make cuts at all four corners where the head and the hat bottom meet.

4. Remove a chip up to each of the four stop cuts at the corners where the head and the hat bottom meet.

5. Make stop cuts that define the bottom of the Gnomes hat. Merely connect the corners where you removed the chips with a stop cut. Make these cuts on all sides of the blank.

6. Make plunge stop cuts with the knife tip, in front of the ear, and remove the chip of wood defined by the stop cuts. Make these cuts on both sides of the blank.

7. Make stop cuts between the bottom of the beard and the Gnomes belly.

8. Make stop cuts defining the back of the ears.

9. Remove a slice of wood to the stop cuts at back of ear, to make the ears stick out from the head.

10. Make plunge stop cuts defining the inside of the elbows.

11. Remove the chip from the inside of the elbows.

To be continued!
2 comments:
Sorry if I've missed it, but is the pattern for the gnome online? Thanks for the great site!
Check out the current posts on the blog. I'll post the pattern.
Thanks, Tom H
Post a Comment